Christina (one of my best friends) and I are talking about starting a YouTube channel about our various creative endeavors. I considered saving this post for a YouTube video, but I’m not sure when that will happen and I really want to use this stuff! I have already posted once this week, but I’m writing more often than posting and would like to share more current journaling and unboxing posts with you in case anyone reading this wants to look for the things I talk about in my posts. Waiting a month later means you’re less likely to find whatever pens or stickers or special deals I mention. So, I’m going to post every other day until I’m caught up, so to speak.
The rule with stores is that whatever you have in the stores closest to you is probably not as good as the stuff further from you. I’m always disappointed at the two Dollar Tree stores closest to me when I go there looking for specific items. So, I waited until I was visiting Christina to go to one of her Dollar Trees. I was not disappointed! The following Tuesday, I went to the Dollar Tree by where I work and it was even better! I think that I basically proved my hypothesis to be true via strict scientific testing. Or not. Either way, I got some really great stuff that I want to try!
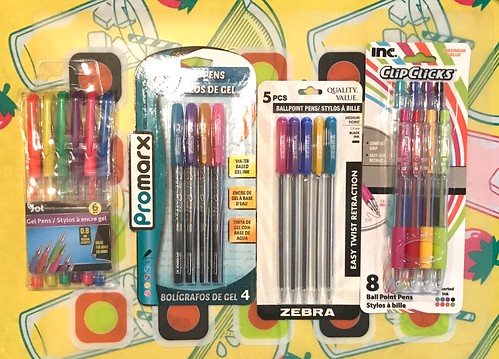
Jot Gel Pens (6) in orange, yellow, green, purple, pink, and blue, .8 mm – 10/10 for pretty colors, 1/10 for smooth writing, 5/5 for grip, 5/10 for likeliness of use since these colors are hard to find in pens, but they’re difficult to use.
Promarx Gel Roller EFX Pens (4) in blue, purple, orange, and pink, 1 mm – 10/10 for pretty colors, 7/10 for smooth writing, 5/5 for grip, 9/10 for likeliness of use because I want to only use these pens now, but I may feel that most documents are not deserving of their beauty and then the ink will dry out and I will cry.
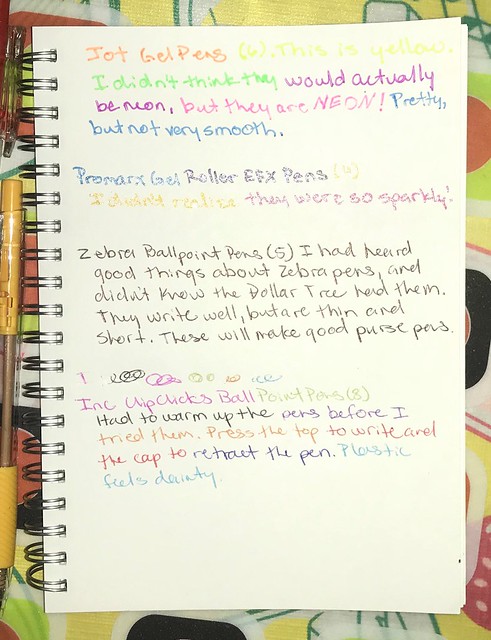
Zebra Ballpoint Pens (5) in black, 1 mm – 1/10 for pretty colors, 10/10 for smooth writing, 3/10 for grip, 8/10 for likeliness of use because I don’t want to use these to write all day, but they will travel well since they are small and do not have caps to lose.
Inc ClipClicks Ball Point Pens (8) in teal, blue, purple, black, pink, red, orange, green – 7/10 for pretty colors, 4/10 for smooth writing, 7/10 for grip, 9/10 for likeliness of use because they travel well and have nice colors, but the plastic feels week and like they will break if pressed too hard.

Jot Felt Tip Markers (4) in orange, pink, blue,and green, .4 mm – 5/10 for pretty colors, 10/10 for smooth writing, 7/10 for grip, 7/10 for likeliness of use since I like them, but I think the lids will be lost and the ink will dry out quickly.
Jot Double-Sided Markers (8) in blue, green, yellow, orange, purple, red, brown, and black, Broadline and Fineline (no measurements) – 2/10 for pretty colors, 1/10 for smooth writing, 7/10 for grip, 2/10 for likeliness of use because they will be fine for lettering practice until they dry up or fall apart. The orange one fell apart on it’s 3rd use. ☹️

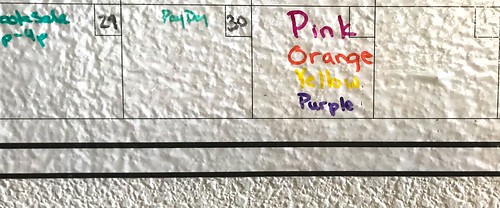
Jot Dry Erase Markers (4) in yellow, orange, purple, and pink, Pointed Tip (no measurements) These were for the white board wall calendars, so I tested out writing and erasing. I don’t know if they will be any harder to erase after a month on the board, but they came off easily with just water and a rag this time. The colors are very pigmented, it the tips aren’t as fine as I’d hoped they’d be. At least I got a yellow and orange out of it, though!
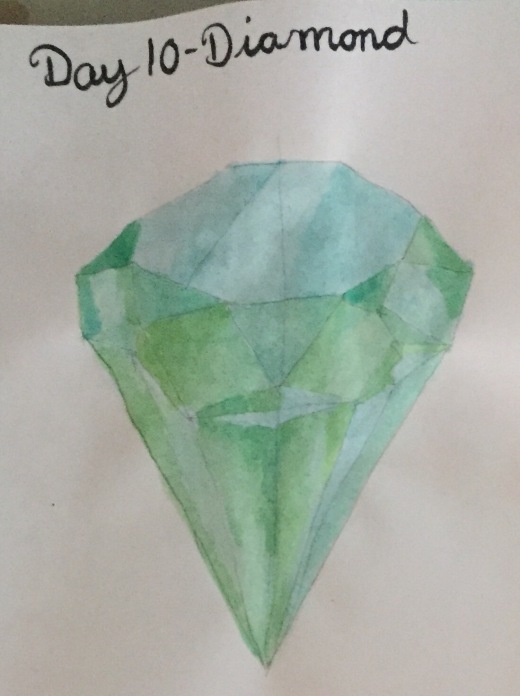
I also got a round mirror for the bathroom for helping with makeup, a pretty composition book for collecting and storing mini-watercolor art, planner stickers, sticky note flags, and a lettering practice book.

Man, this post took way longer to write than I anticipated, it it was a lot of fun. I have some other haul posts coming up, so let me know if the written haul blogs are entertaining or if you think they’d be better on video. Let me know what kind of stationery gems you have at the Dollar Trees near you!

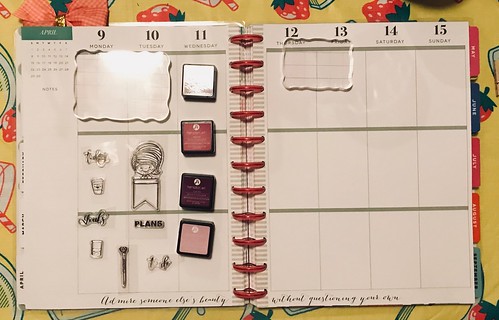
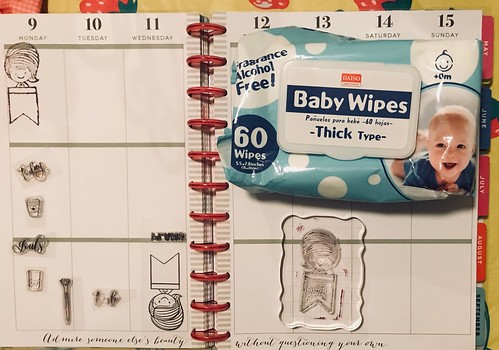


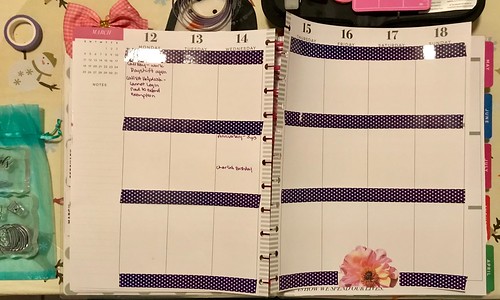


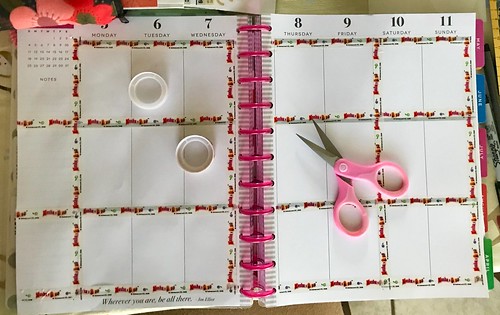


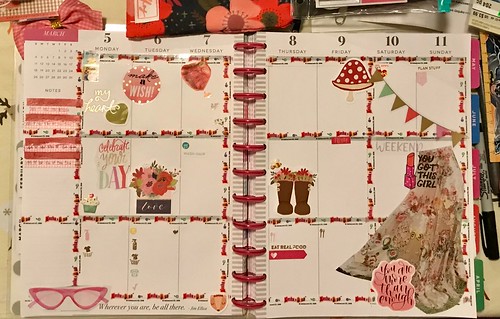


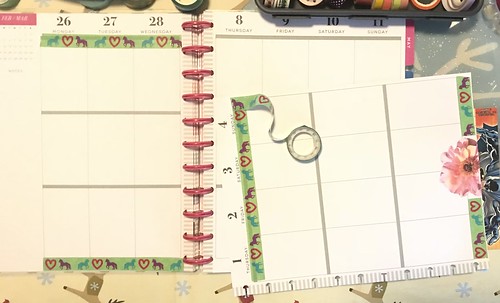
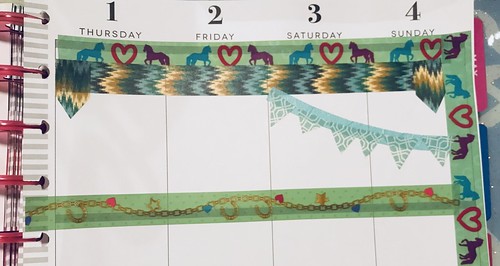


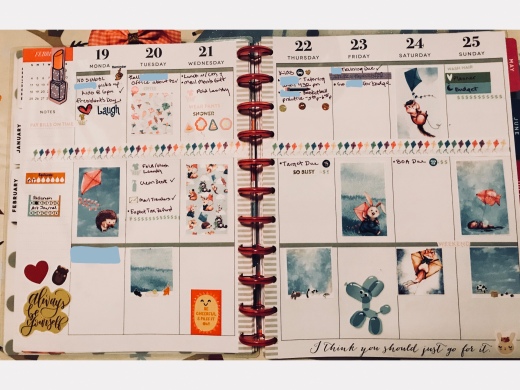 This week’s journal layout makes me happy!